Guide | MobiPOS > Cash Register > Order Mode > Delivery/Collection
Delivery/Collection
To start a delivery or collection order, go to the Cash Register and click the highlighted button below.
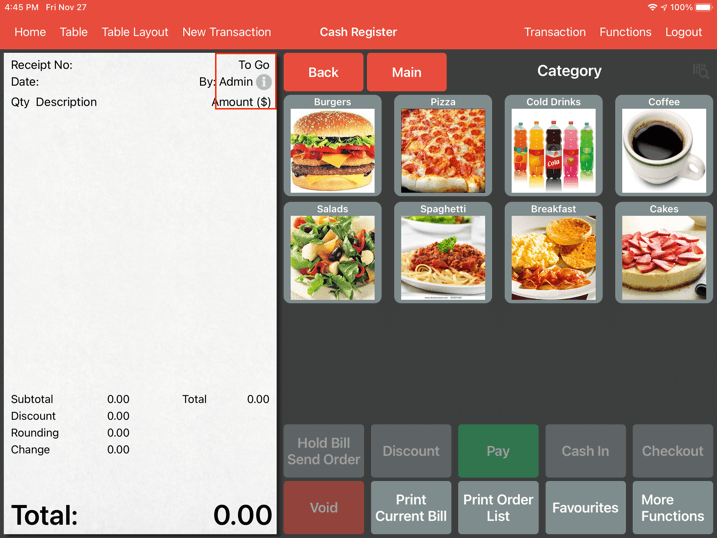
Alternatively, user can also press and hold on the “New Transaction” button.
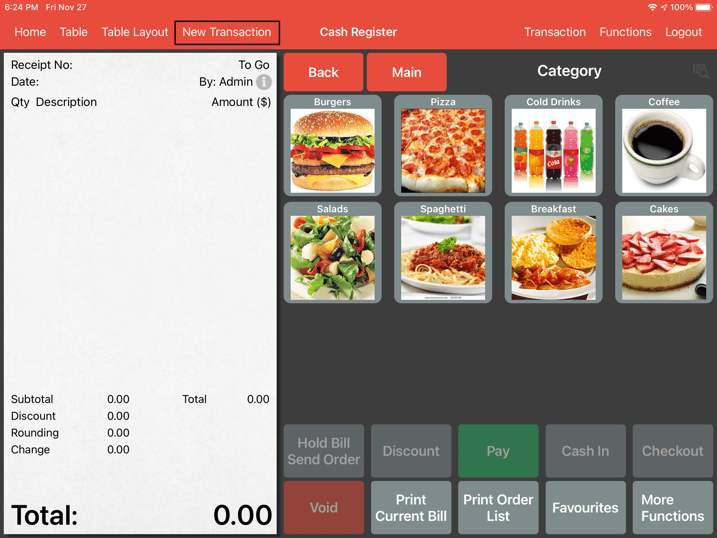
Four options will appear, click on “Delivery”
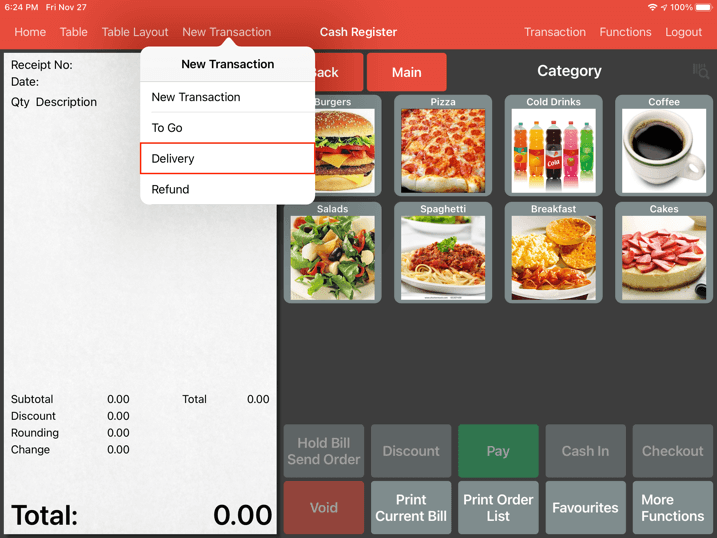
Both method will lead you to the customer details page.
Before keying in delivery customer details, search if customer's data already existed in the database.
User may search for existing customer’s name, phone, address or email in the search bar below.
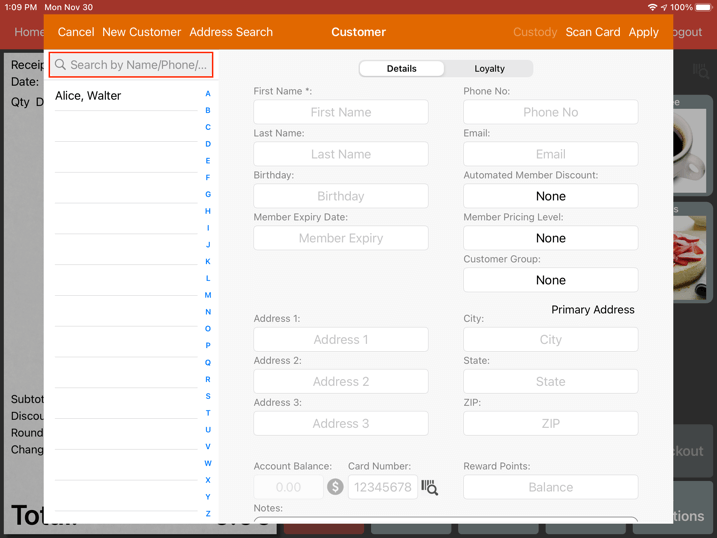
If the search does not match any existing data, user can directly use that information to start a new customer entry.
In this scenario, we will key in a new customer phone number as below.
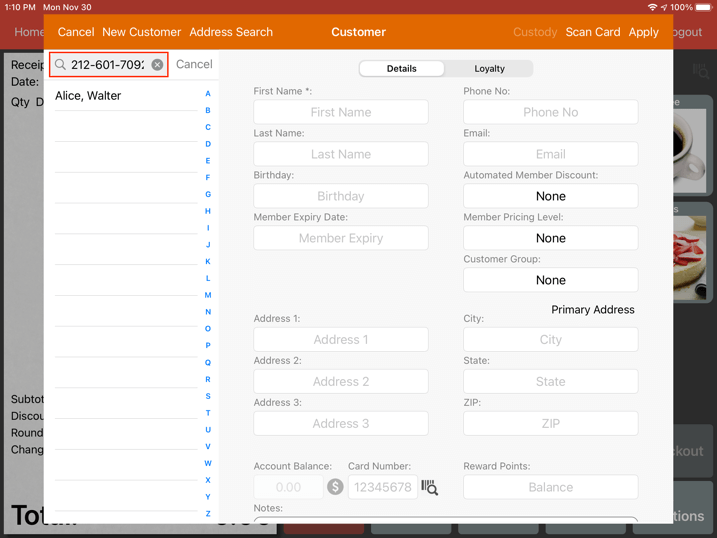
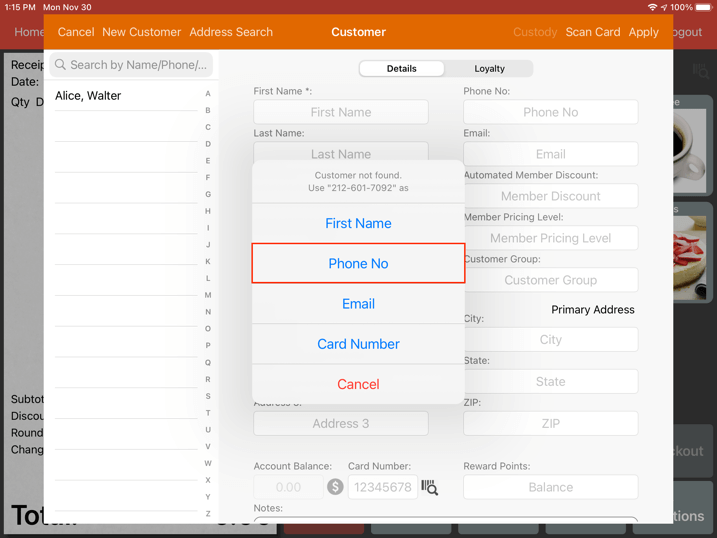
If it has not been existed, click 'Enter' on the keyboard, a message will pop up allowing user to assign the searched information to a either First Name, Phone No, Email or Card Number.
This would prevent the need of double entry.
In this example, we will Click on Phone No.
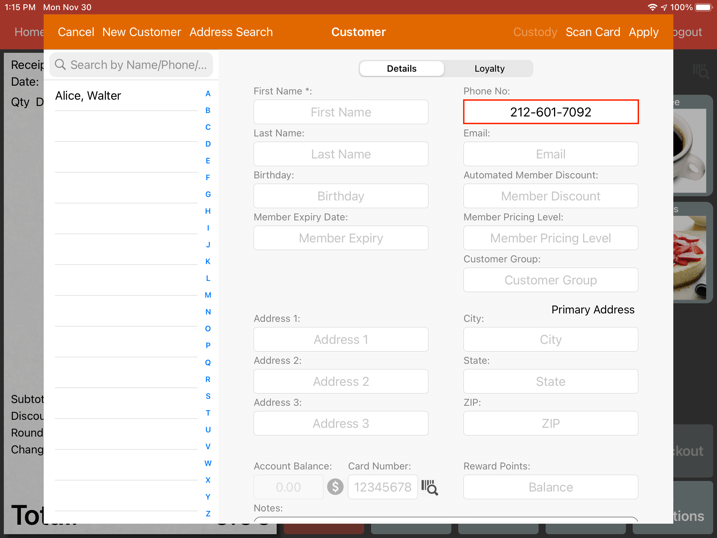
The phone number keyed in the search bar will be transferred to the customer's Phone No field.
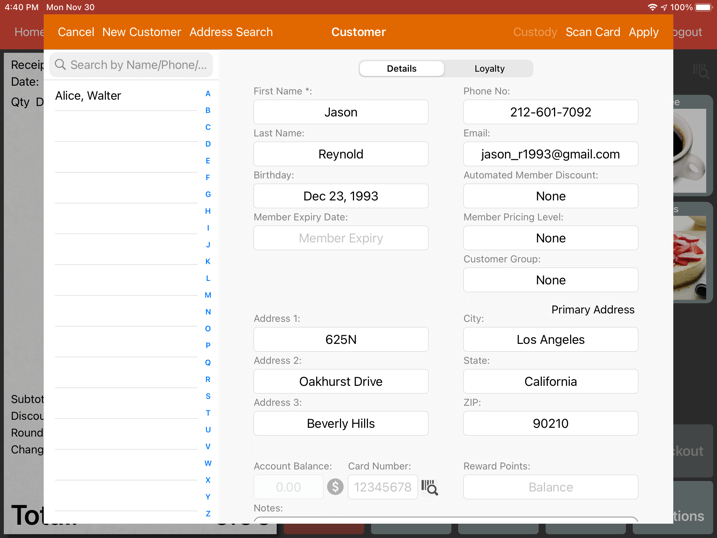
Continue fiiling in the rest of your customer’s data.
The more data that is input into the system will help to improve customer relations in the future.
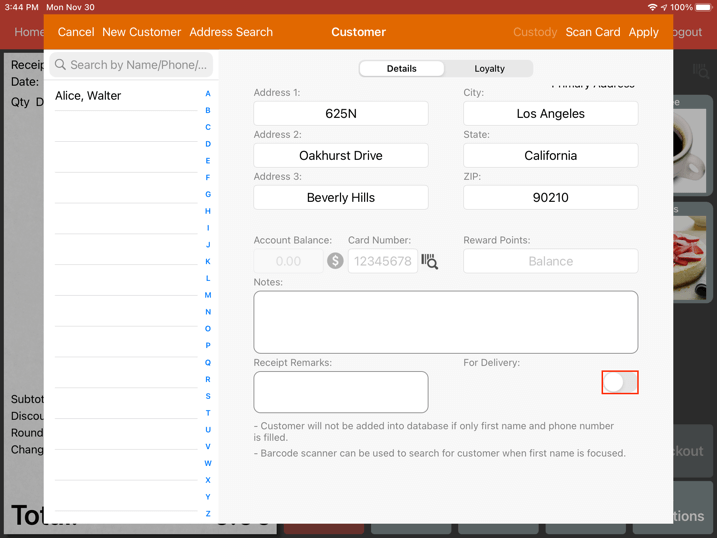
Scroll down, turn on the “For Delivery” switch.
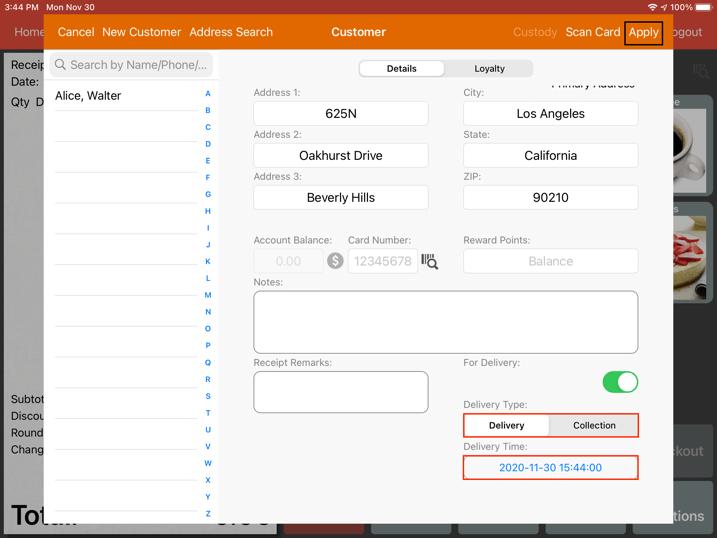
User can select the Delivery Type and the Delivery Time.
By default, it will be set to “Delivery” and delivery time will be set to now.
Click “Apply” after adjustments have been made.
A new customer profile has been added and you will be redirected to the ordering screen as below.
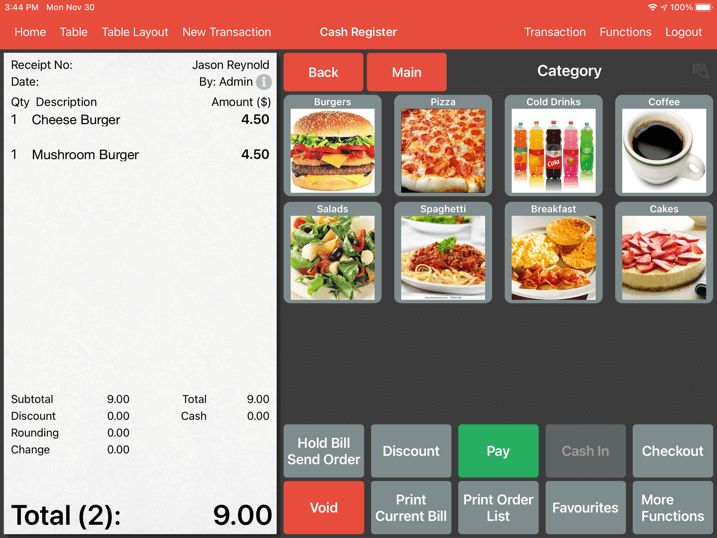
As of now, this order is set to delivery.
However do proceed to continue the order, don't forget to click on "Hold Bill" to fire the order to kitchen when order is confirmed.
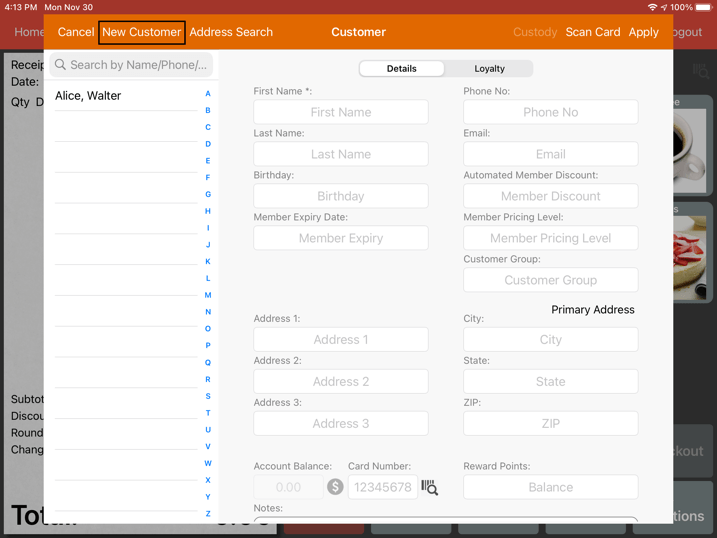
Alternatively, without searching, simply click on the “New Customer” button as shown below.
If the contact number or email clashes with another existing contact number, clicking on apply the system will prompt two options as below.
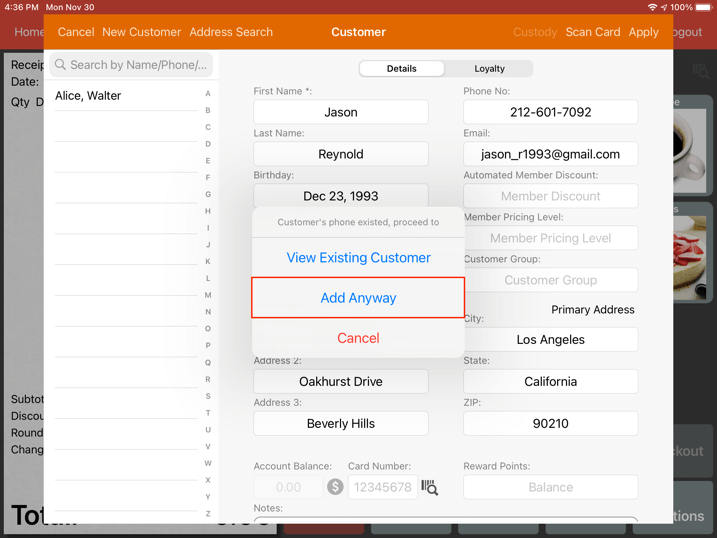
User can either “View Existing Customer” to use previously saved customer contact details or “Add anyway” to keep both data.
Pressing the latter will forward user to the screen below.
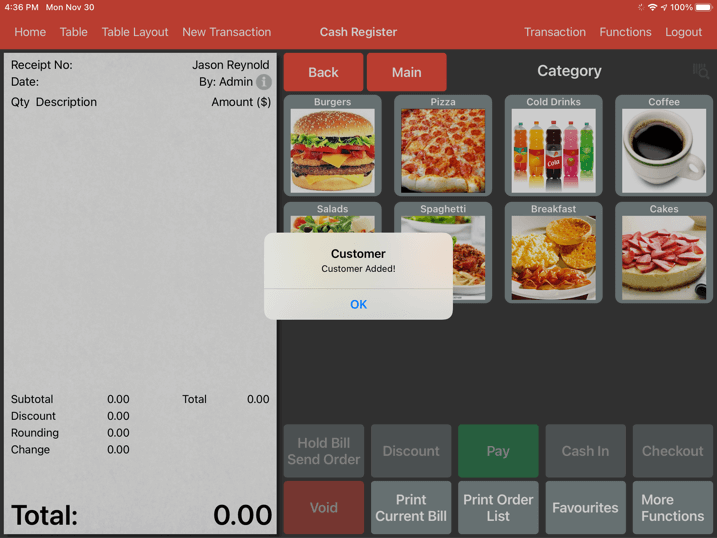
New customer entry is now added into your customer database.
Order is now set to delivery.
You may proceed to continue the order.